Playground Safety Surfacing synthetic grass turf & sod believes that, like with any home improvement project, correct installation is necessary to produce high-quality cosmetic results and long-term durability. This artificial grass installation guide was created by Playground Safety Surfacing synthetic grass turf & sod as a reference tool for your artificial synthetic grass turf & sod installation. To install your fake synthetic grass turf and sod, follow these 12 steps.
STEP 1: Know The Potential Installation Area For Artificial Synthetic Grass
Draw a line around the area where your artificial synthetic grass turf and sod could be installed. Color spray cans or tiny flags can be used.
-In lineal feet, measure the length and breadth of the installation area (feet). In SqFt (square feet), the whole squared area of artificial synthetic grass turf & sod will be required. Before ordering supplies, measure the fake synthetic grass turf and sod area twice. To cover any potential waste material, add an extra percentage of fake synthetic grass turf & sod in 8% to 10% of the entire area surveyed.
The goal of this stage is to decide the type of fake synthetic grass turf and sod to be installed and the total number of materials required to complete the project, based on the existing surface and probable future use.
STEP 2: Identify Any Irrigation, Electrical Cabling, Or Gas Piping System Running Through The Artificial Synthetic Grass
If there is an irrigation system in the artificial synthetic grass turf & sod area, it should be capped off or removed entirely.
If the fake synthetic grass turf & sod area has a cabling system, it should be moved.
If there is a piping system (water, gas, etc.) in the fake synthetic grass turf & sod installation area, use caution while using nails, metal pins, or sod staples to prevent damaging the pipes and creating a danger. Make a mark on the pipes’ course.
STEP 3: Prepare The Ground Area For The Synthetic Artificial Grass Turf
Draw a line around the area where your artificial synthetic grass turf and sod could be installed. Color spray cans or tiny flags can be used.
In lineal feet, measure the length and breadth of the installation area (feet). In SqFt (square feet), the whole squared area of artificial synthetic grass turf & sod will be required. Before ordering supplies, measure the fake synthetic grass turf and sod area twice. To cover any potential waste material, add an extra percentage of fake synthetic grass turf & sod in 8% to 10% of the entire area surveyed.
The goal of this stage is to decide the type of fake synthetic grass turf and sod to be installed and the total number of materials required to complete the project, based on the existing surface and probable future use.
If necessary, install drainage systems. The drainage systems used in natural grass installations are comparable to the preparation used in artificial synthetic grass turf & sod installations.
STEP 4: Framing The Prepared Synthetic Artificial Grass Turf
Install the framework system around the fake synthetic grass turf & sod installation area according to the shape of the project requirements.
For the fake synthetic grass turf & sod installation region, Poured In Place suggests using synthetic bender boards 2″ X 2″. To prevent further moving or loosening, use metal pins or plastic stakes to secure the bending boards to the ground. These bending boards should not be simply removed from the fake synthetic grass lawn & sod installation area after they have been connected.
STEP 5: Laying Decomposed Granite On The Synthetic Artificial Grass
Spread decomposed granite over the fake synthetic grass turf and sod area surface, which was previously prepared and graded to a height of 2″ to 3.”
Evenly distribute the decomposed granite over the fake synthetic grass turf and sod installation area.
Level the decomposed granite base on the fake synthetic grass turf & sod installation area with the rear of a bow rake in a back and forth motion.
Using a 2′ X 4′ piece of wood as a level, remove any holes or surplus places and uniformly spread the compacted decomposed granite on the fake synthetic grass turf and sod area.
You may also uniformly scrape the surface to the desired curve. Ensure that the fake synthetic grass turf & sod area’s decomposed granite base allows for adequate drainage and water flow. The foundation material must be equally distributed across the fake synthetic grass turf and sod installation area. This stage will define the fake synthetic grass turf & sod installation area’s ultimate form and finish level.
STEP 6: Compacting The Decomposed Granite Base On The Synthetic Artificial Grass
Using a vibrating plate compactor, compact the already put-out decomposed granite on the fake synthetic grass turf & sod area between 85 and 90%. Most equipment rental shops have vibrating plate compactors on hand.
Spray water on the decomposed granite basis for optimal compaction in the fake synthetic grass turf & sod installation area. This will also assist in eliminating dust.
Make as many passes as needed to provide a strong and rigid base on the artificial synthetic grass turf and sod area.
When using the vibrating plate compactor, avoid making sudden bends; this can cause ridges in the artificial synthetic grass turf & sod region.
On the fake synthetic grass turf & sod area, high spots must be leveled down, and low spots must be filled and compacted.
On the fake synthetic grass turf & sod area, use the hand tamper to compact any spots that were not compacted by the vibrating plate compactor.
Compact any buildup around the borders and corners of the fake synthetic grass turf & sod area with the smooth side of the trowel. The objective is to create a smooth and homogeneous basis on the fake synthetic grass turf & sod area; the grass will not hide flaws in the base.
The finished foundation should be 12″ below the bender board’s top or at the same level as the ground around the artificial synthetic grass turf and sod area.
Before moving on to the next phase, let the compacted decomposed granite dry on the fake synthetic grass turf and sod area.
Start with a complimentary consultation to discuss your vision. We offer tailored designs, including artificial turf, putting greens, pet-friendly turf, playground surfaces, sports fields, and other specialized turf services.
STEP 7: Installing A Weed Barrier On The Synthetic Artificial Grass
Spread a weed barrier over the compacted fake synthetic grass turf & sod area to prevent weeds from germinating and growing through the drainage holes in the artificial synthetic grass turf & sod backing (weeds are very sneaky).
By keeping all drainage perforations in the synthetic fake grass turf & sod backing clean and clear of any weed obstructions, the weed barrier will assist ensure adequate drainage of the synthetic artificial grass turf & sod.
To keep the weed barrier in place on the fake synthetic grass turf and sod area, use sod staples or nails (6″ long).
When nailing or stapling on the fake synthetic grass turf & sod installation area, keep in mind where the pipes pass through and how deep they are buried to minimize any damages or health problems (gas or water pipes).
Cut the synthetic artificial grass turf and sod ahead of time. The cut area on the fake synthetic grass turf & sod installation area is longer and wider than the prepared base.
Before installing artificial synthetic grass turf & sod, sweep the fibers of the artificial grass turf & sod against the direction they are lying in using a power broom. The spreading infill will be easier as a result of this.
When laying down pre-cut portions of fake synthetic grass turf & sod, ensure they all lay in the same direction.
Putting the artificial grass turf and sod pieces together. This is perhaps the most difficult phase in installing artificial synthetic grass turf and sod. Proper seaming of two pieces of synthetic fake grass turf & sod will demonstrate a professional installation when the job is done.
To accomplish so, patience and self-control are essential.
Check that the fibers of the artificial synthetic grass turf and sod pieces lie in the same direction before seaming them together.
Trim the sod and synthetic grass turf to fit the installation location. The fake grass turf and sod should be able to fit snugly against the boundary. Trim the installed fake synthetic grass turf and sod with care.
After trimming the perimeter of the fake synthetic grass turf & sod that has been laid, start securing the artificial synthetic grass turf & sod to the foundation. Every 2ft, 1″ away from the border, insert square head sod staples or nails (6″ long) throughout the fake synthetic grass turf & sod perimeter. When inserting the sod staples, spread the fake synthetic grass turf & sod fibers apart and do not staple down any artificial synthetic grass turf & sod fibers. Also, do not push the staples too deep into the artificial synthetic grass turf & sod; this may leave indentations.
STEP 9: Infilling The Synthetic Artificial Grass Turf
The artificial synthetic grass turf & sod infill material is sand-covered with rubber or crumbed rubber.
Wait until the seaming adhesive has dried before filling the artificial synthetic grass turf and sod.
The typical amount of infill material required per square foot of artificial synthetic grass turf and sod area is 12 or 2 lbs.
Cover the fake synthetic grass turf and sod with the filler material. A drop spreader or a shovel can be used to disperse the infill on the fake synthetic grass turf and sod that has been laid.
Begin sweeping the infill material into the fake synthetic grass turf & sod with a big nylon push broom or a power broom against the fibers’ direction, forcing them to stand erect. With a motorized broom, this step is simple to do. For corners and tiny areas, a street broom might be utilized. This operation will be done multiple times until the fake synthetic grass turf & sod blades are entirely standing up, and the artificial synthetic grass turf & sod blades have been filled, leaving a free blade height of roughly 3/4″.
The infill substance on the fake synthetic grass turf & sod makes the blades stand up, adds comfort, and fills all the spaces in the bottom.
STEP 10: Grooming The Installed Synthetic Artificial Grass Turf
Use a plastic brush to brush the final synthetic artificial grass turf and sod to help the blades stand up entirely. The blades appear and feel like natural grass when the infill is evenly distributed throughout the synthetic fake grass turf & sod.
Water the fake synthetic grass turf & sod softly after leveling the infill material to settle any particles that may remain on the surface of the installed artificial grass turf & sod.
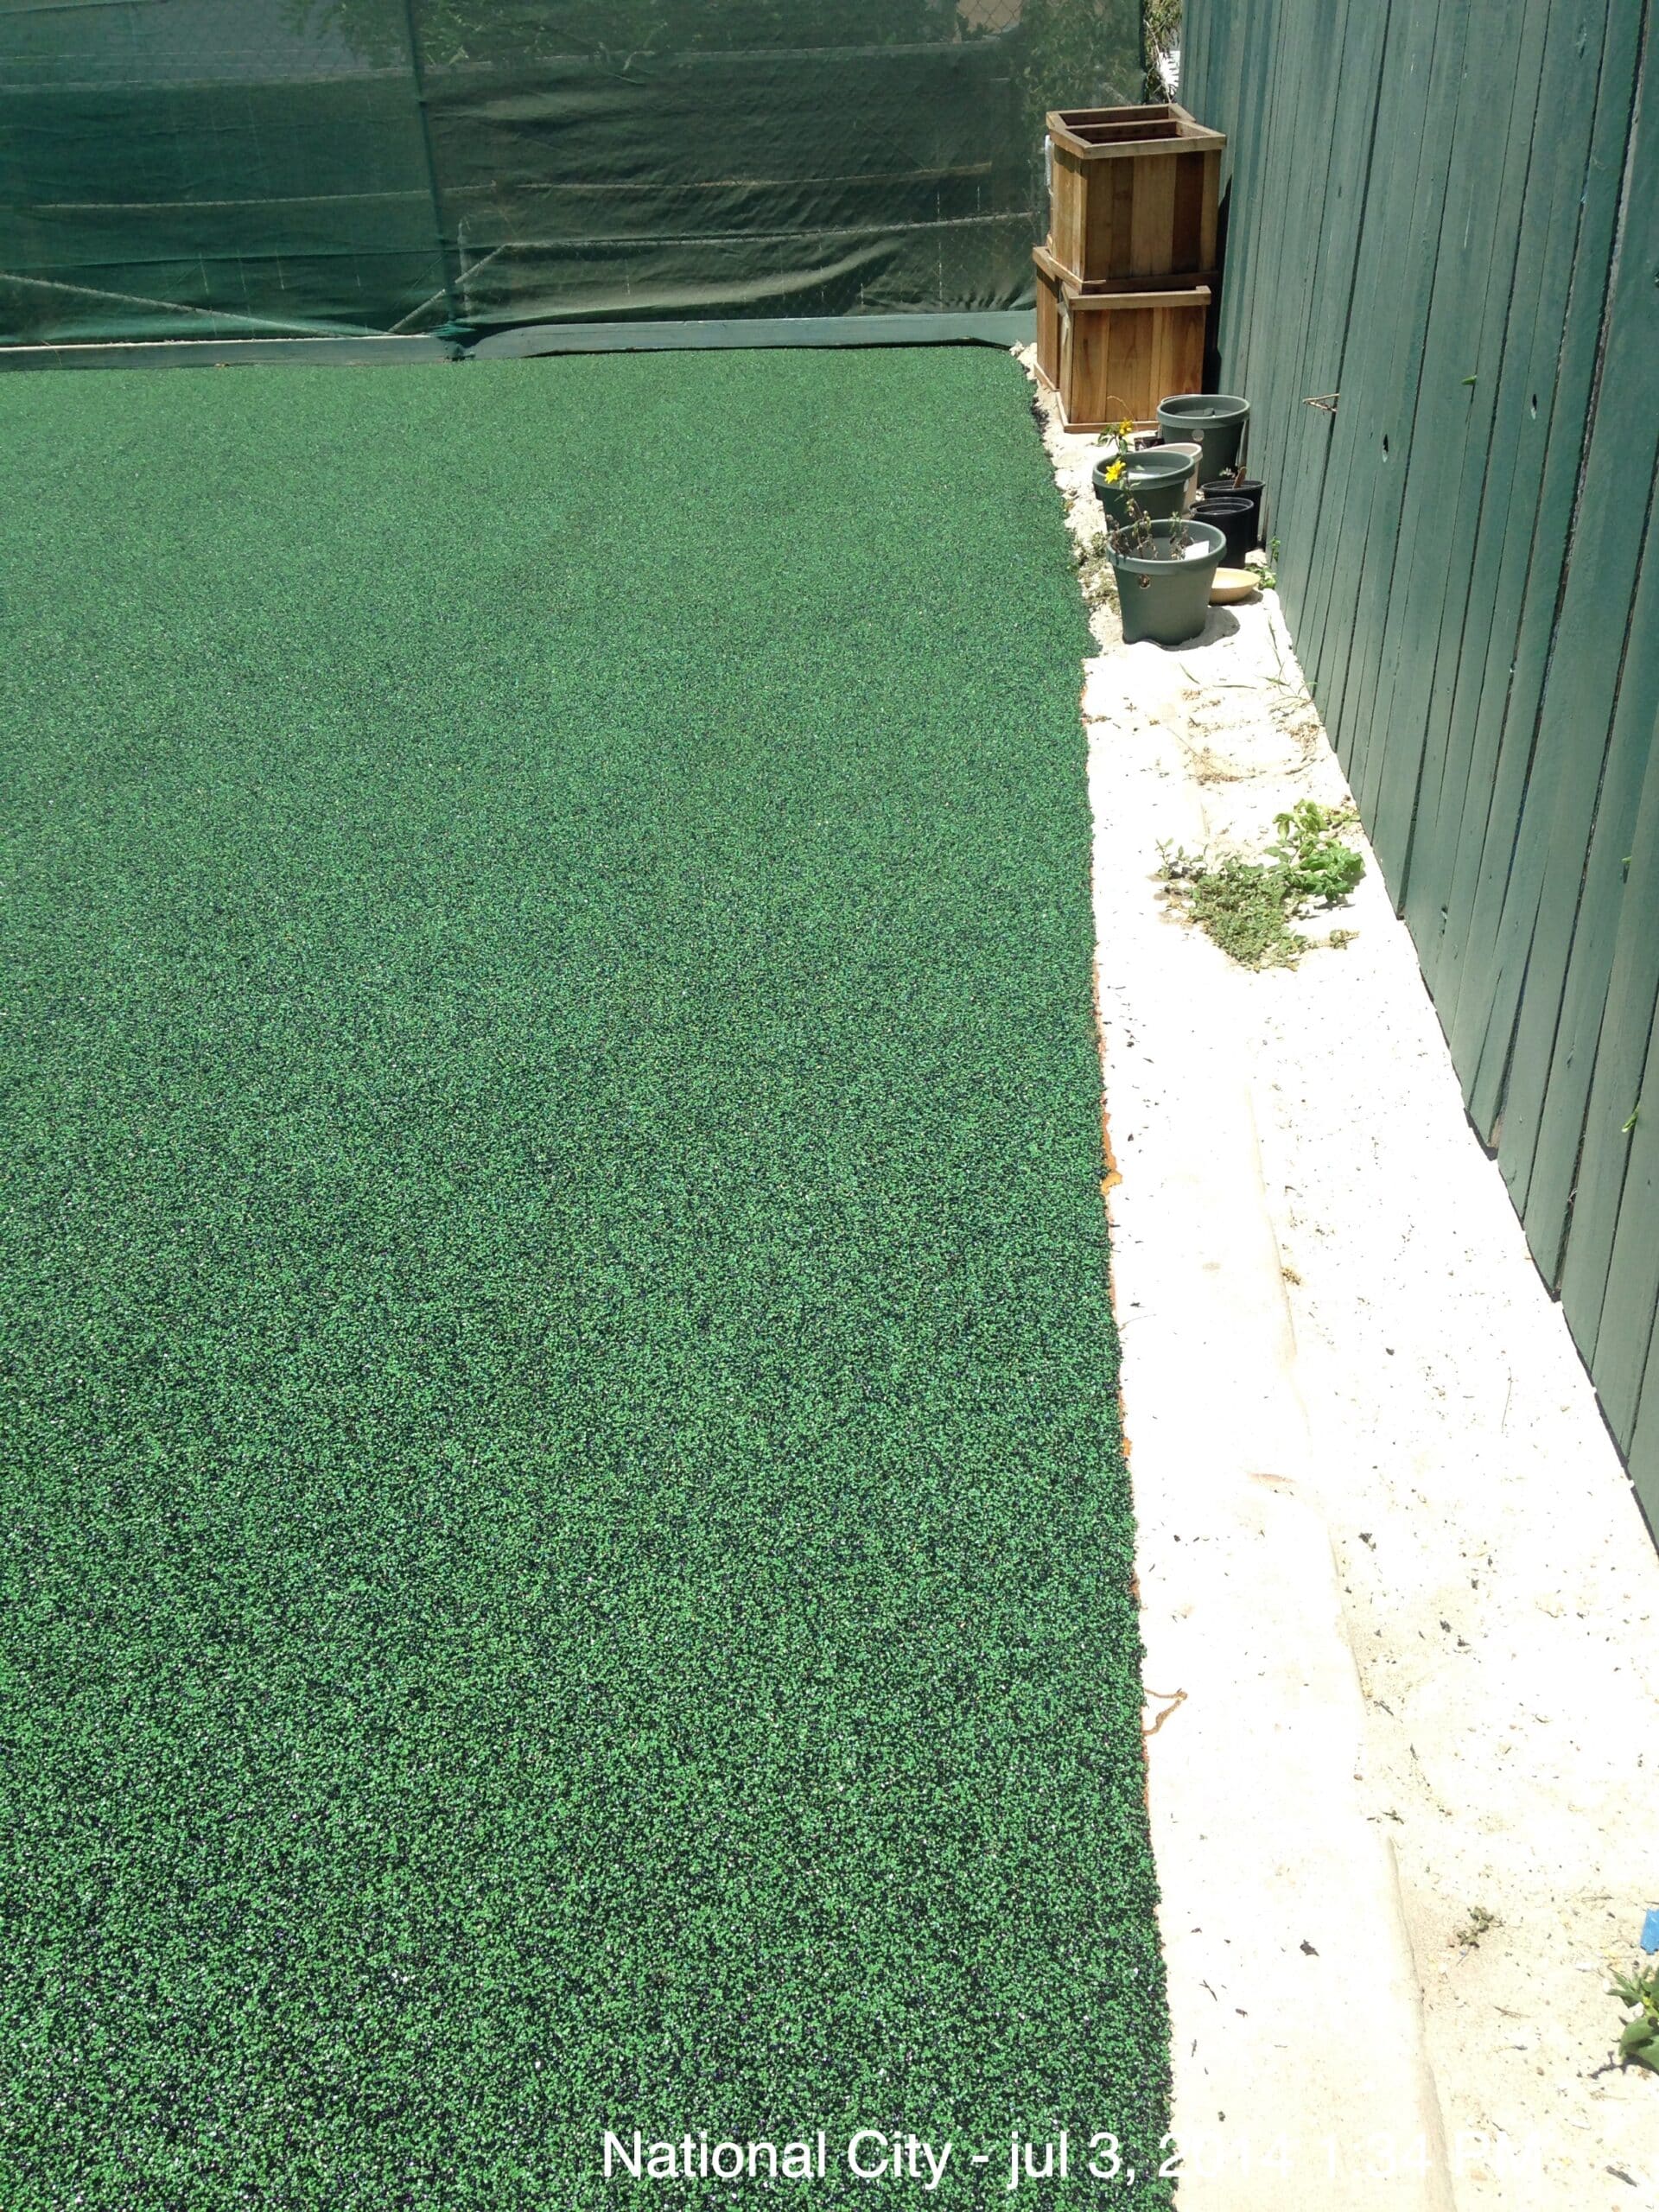
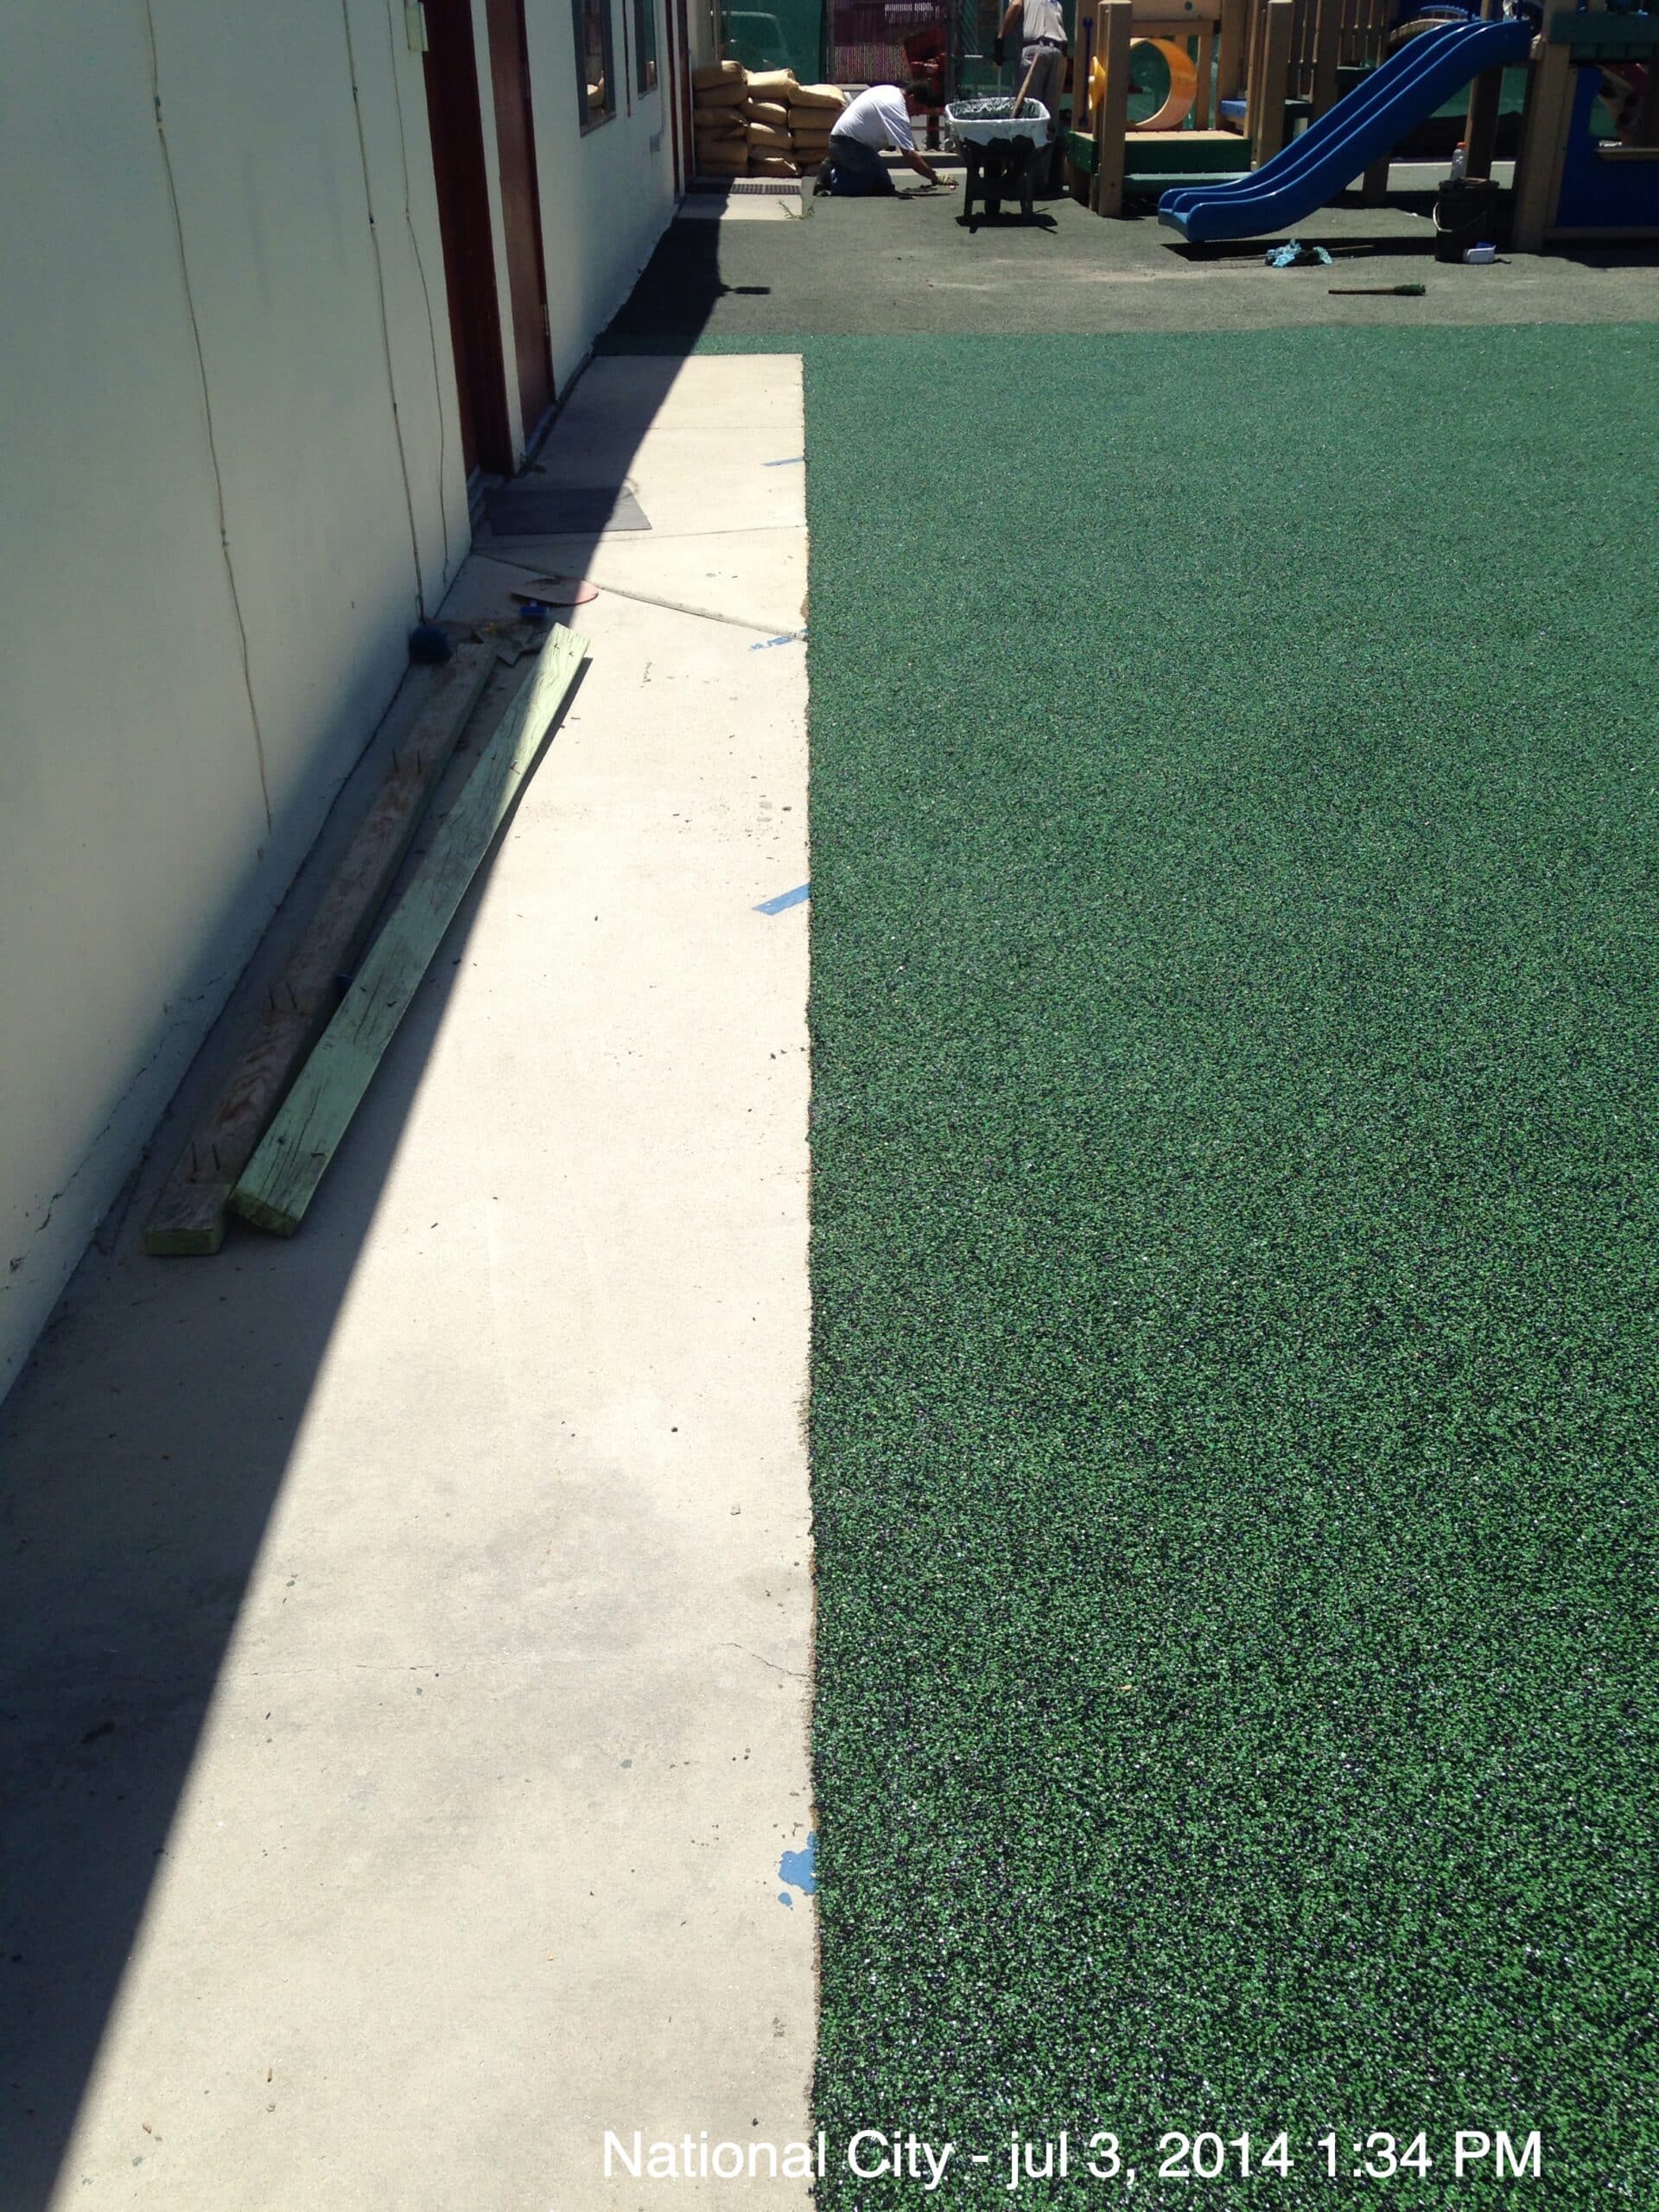
STEP 11: Cleaning Up The Synthetic Artificial Grass Turf
Walk throughout the artificial synthetic grass project site, removing and collecting any remaining artificial synthetic grass turf & sod remnants, supplies, tools, equipment, etc. All industrial and green waste items must be collected and disposed of by safety regulations.
Note to homeowners: Use a push broom to regularly brush the artificial synthetic grass turf and sod. This will assist in maintaining the fake synthetic grass turf and sod clean by stabilizing the fibers. Any spills may be cleaned up with water and a mild detergent. To remove any trash or foliage from the fake synthetic grass turf & sod, use a plastic leaf rake or leaf blower.
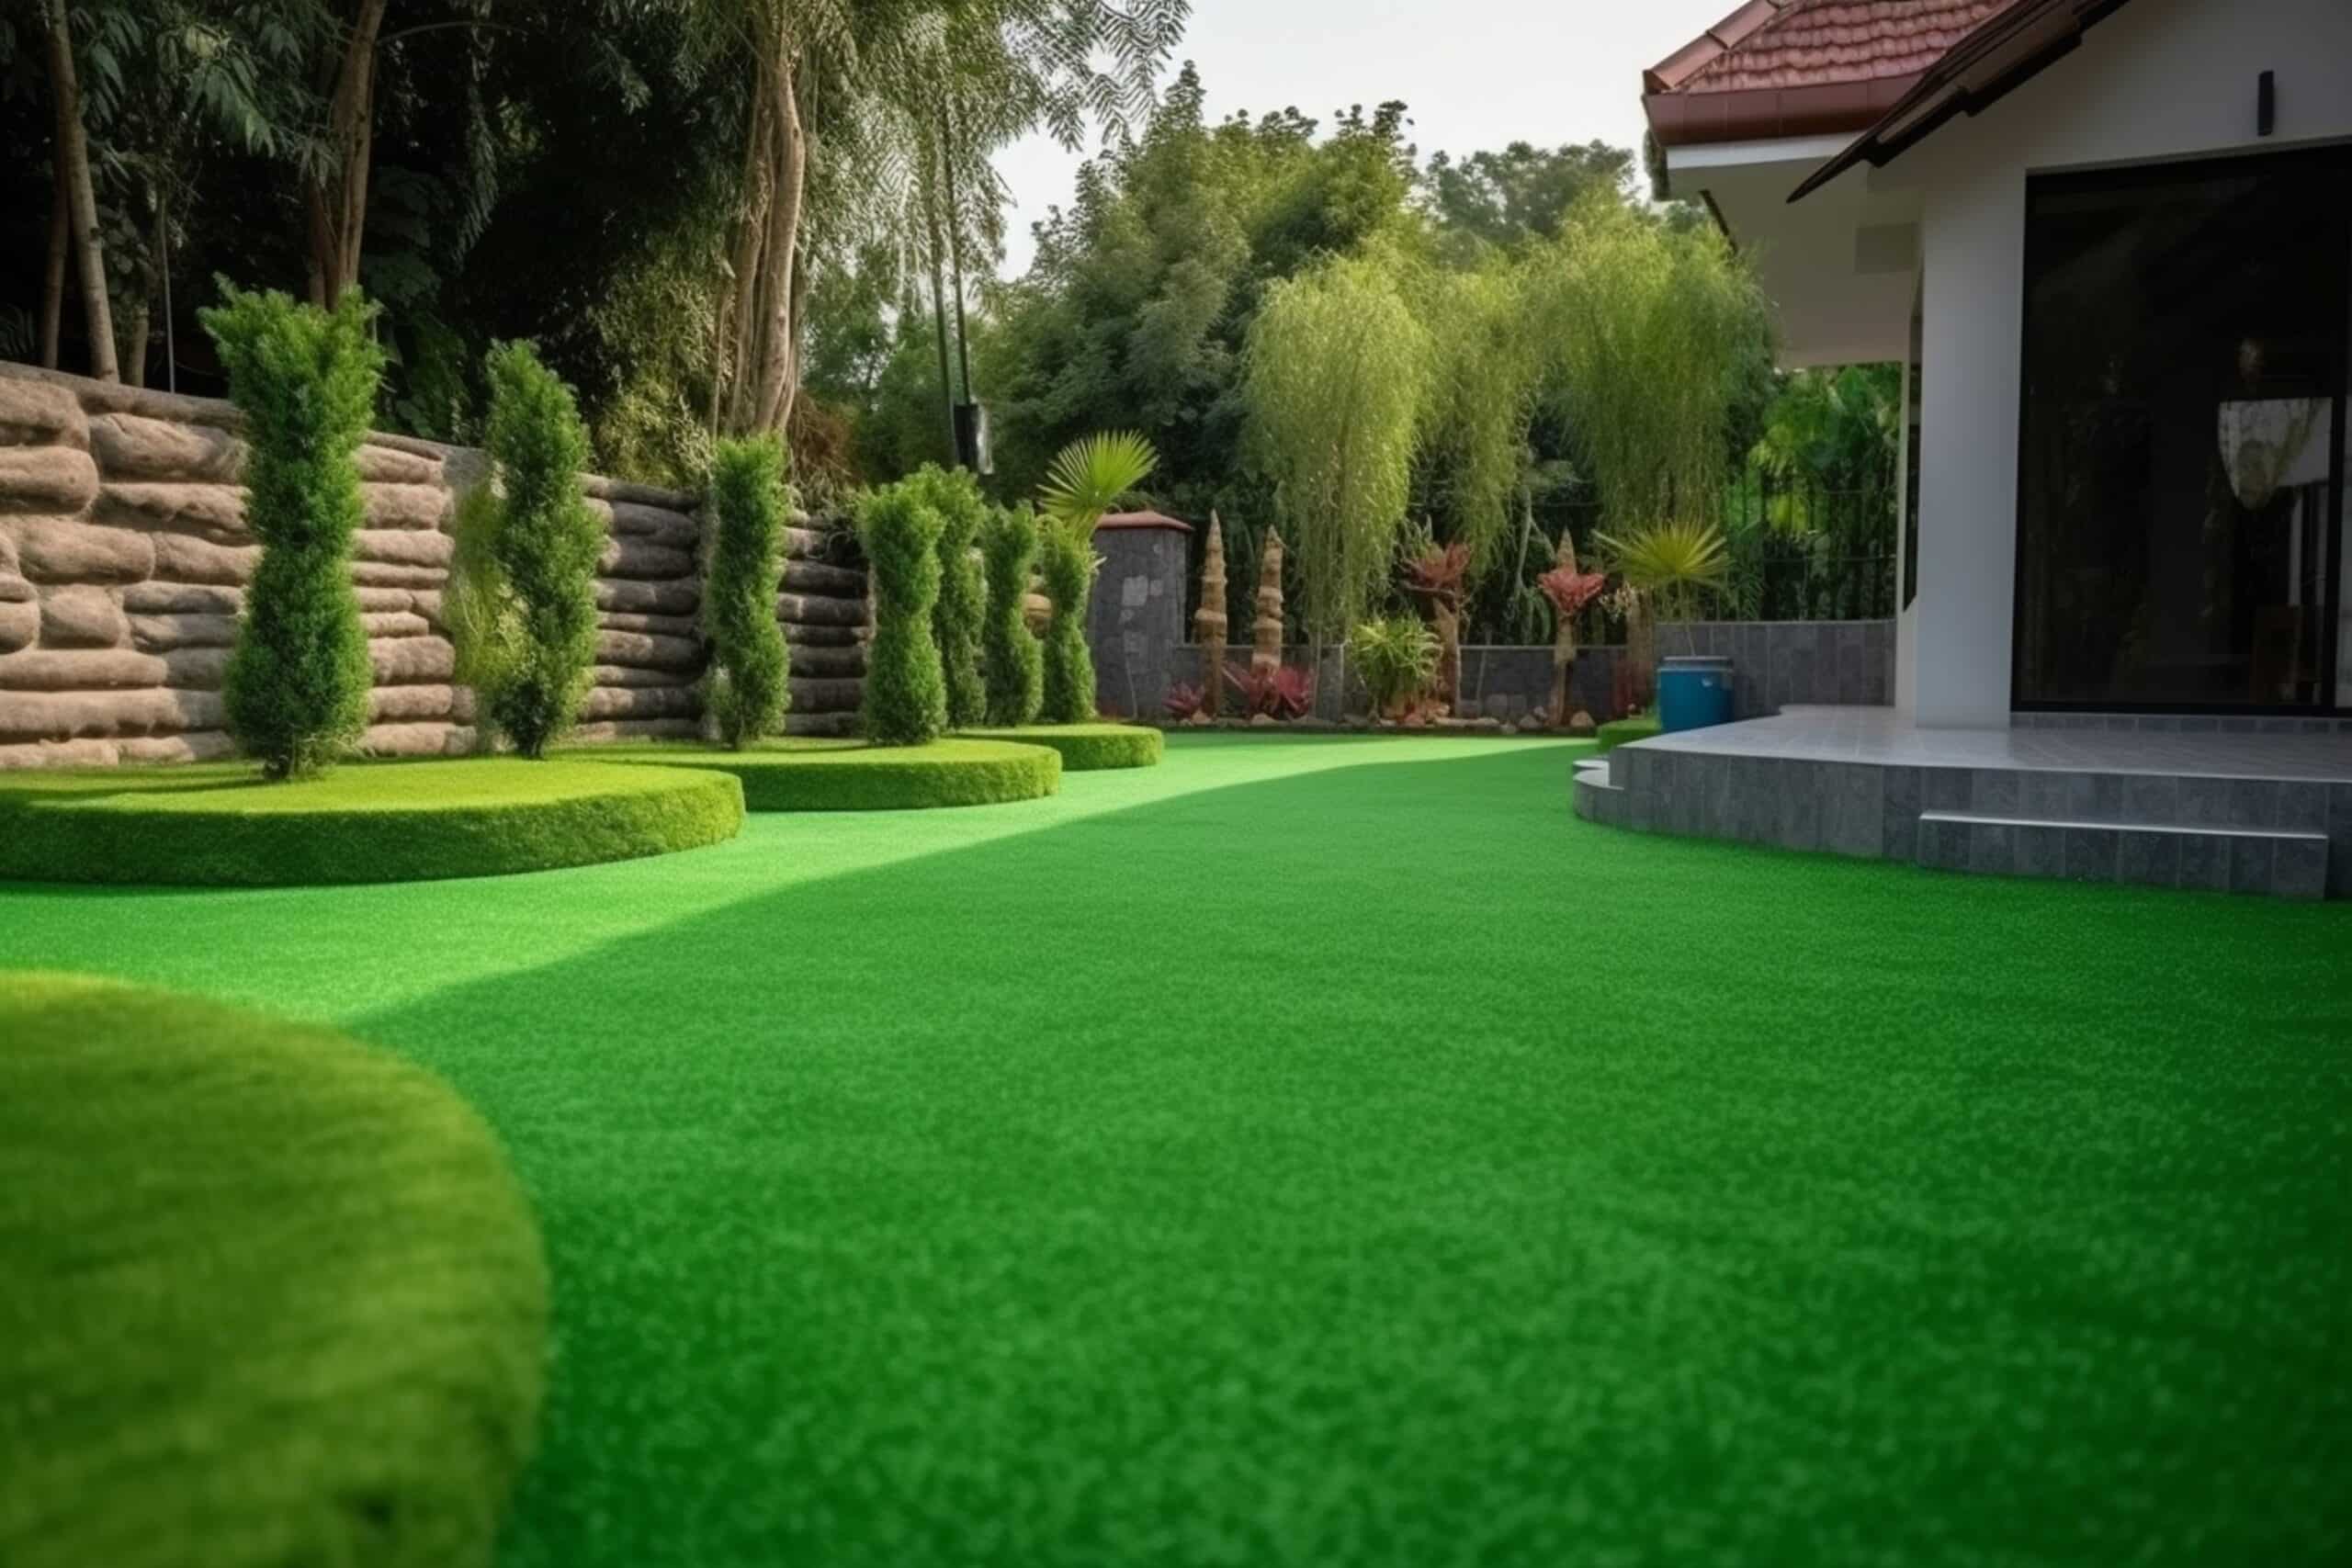
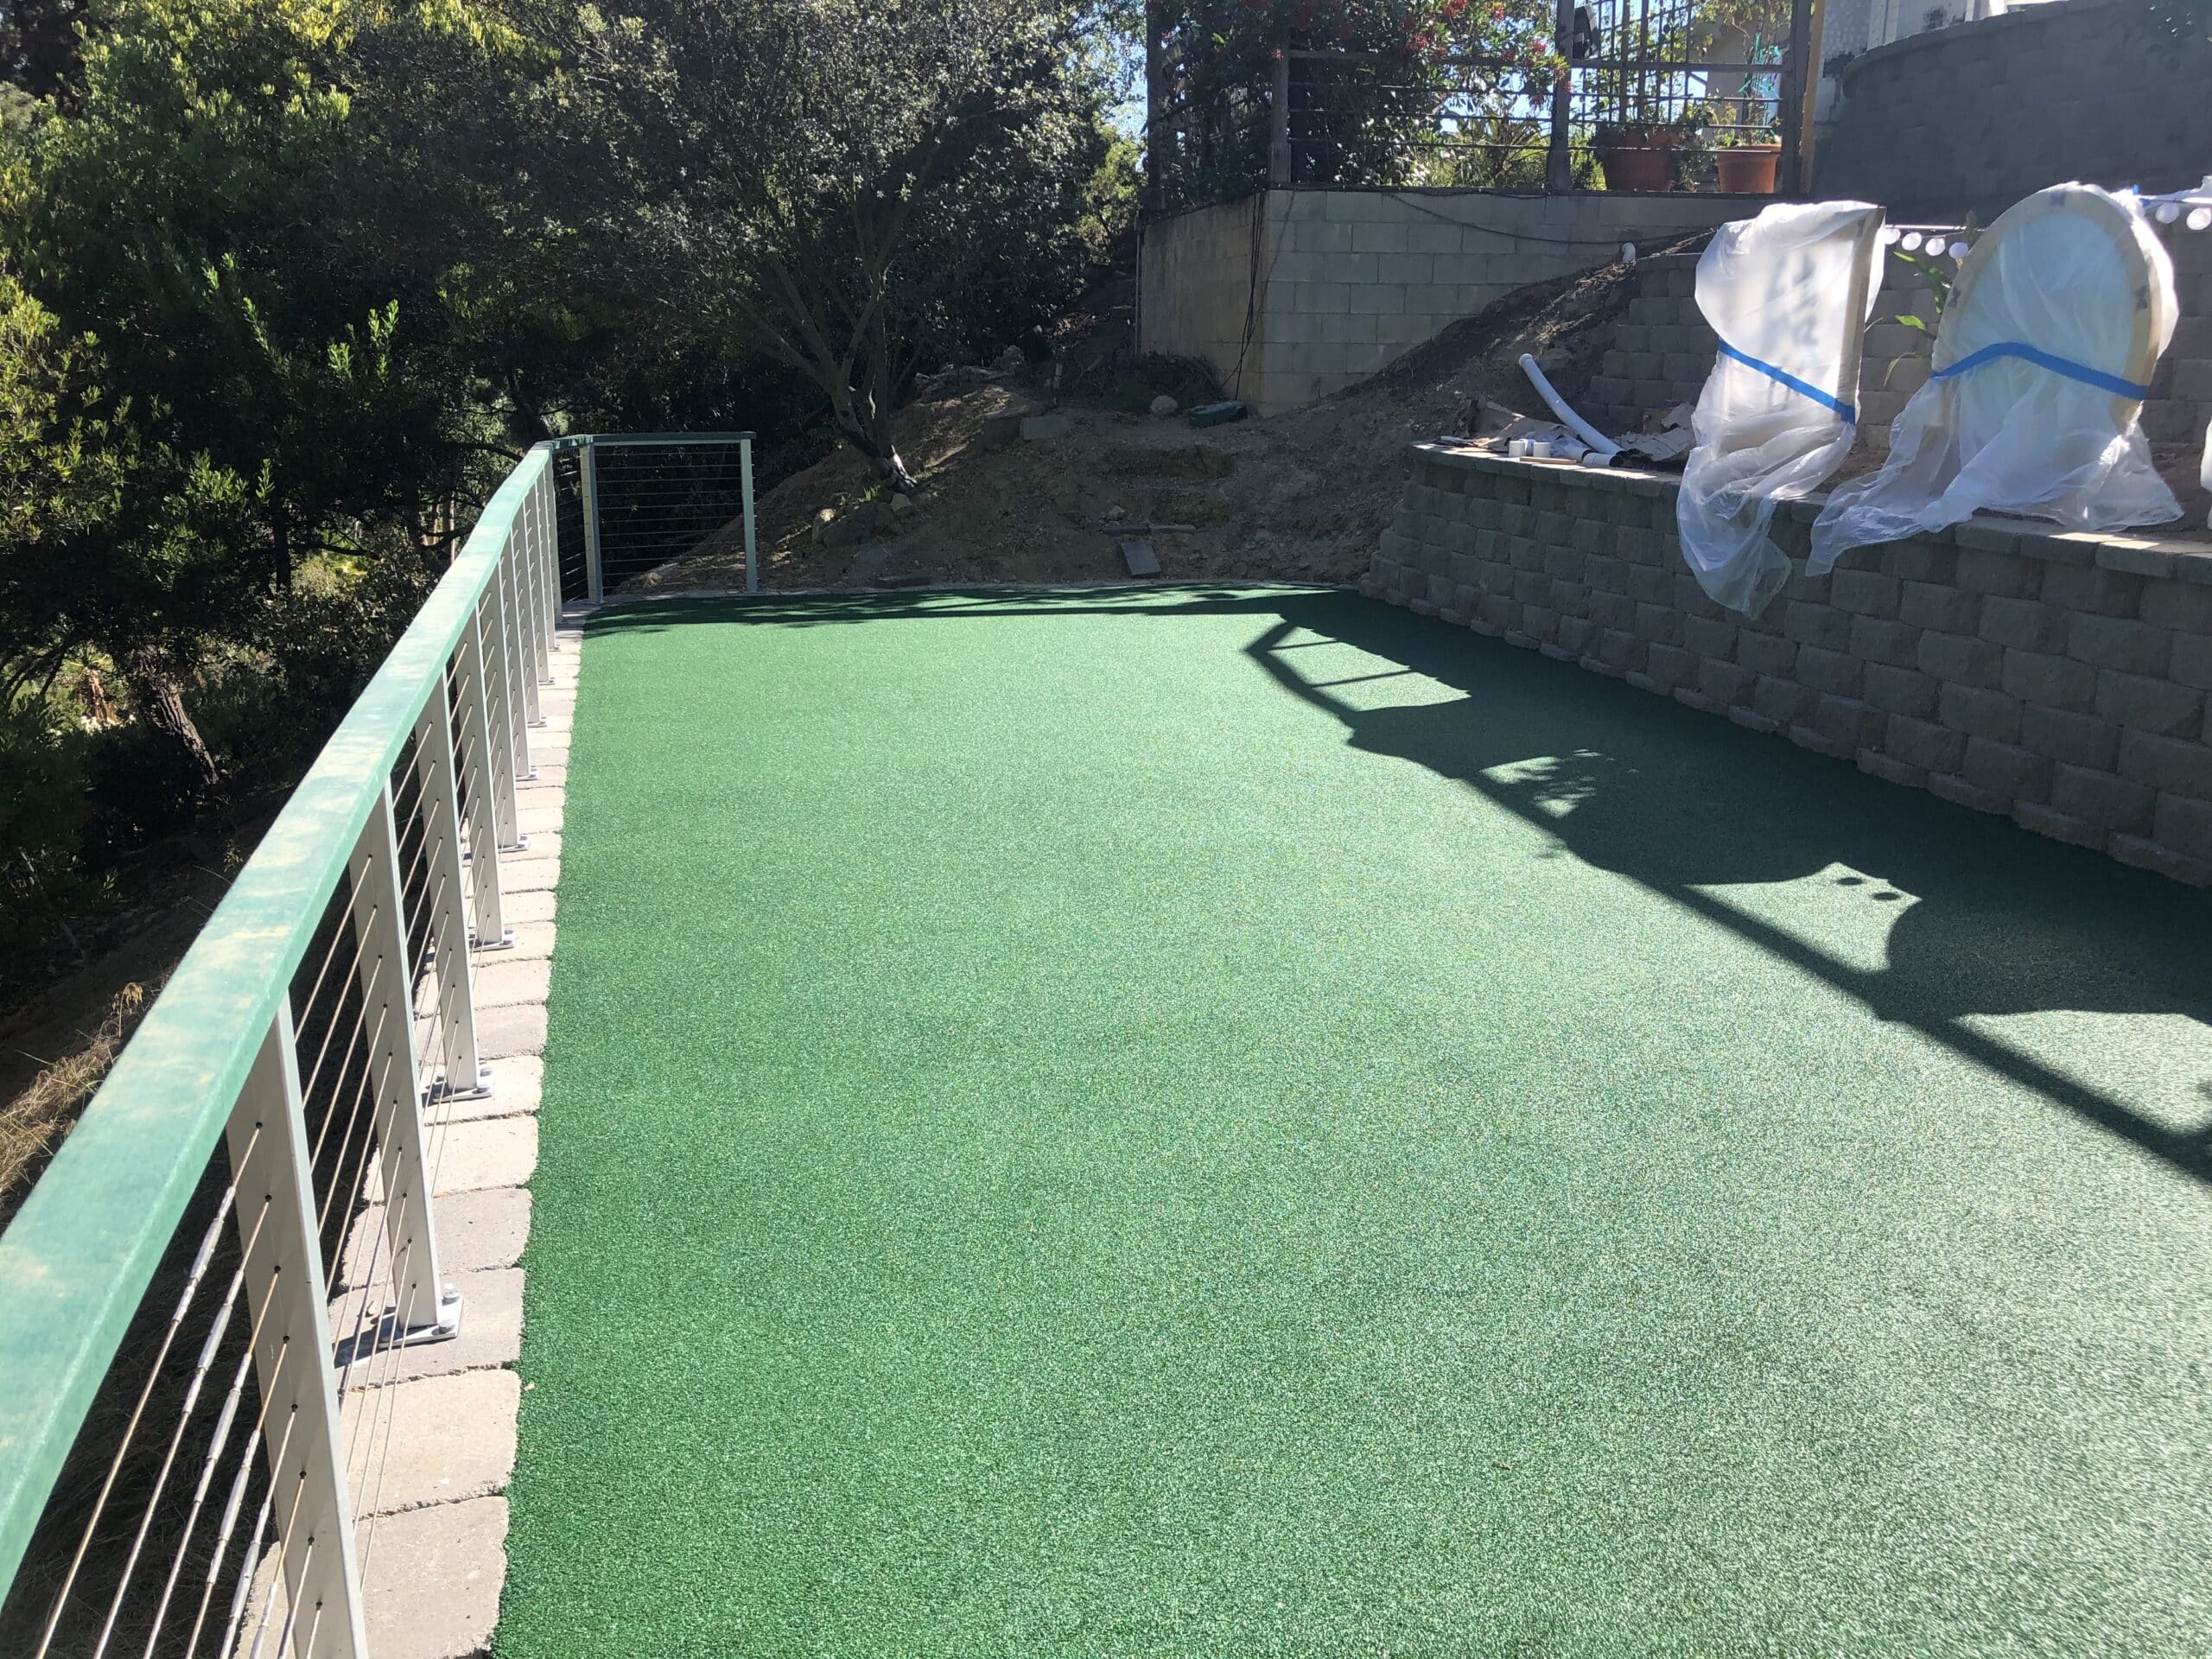
For many years, enjoy your new synthetic fake grass!
We have a team of well-experienced and qualified technicians that employ sophisticated technologies for all sorts of installations. To reiterate, synthetic grass may be laid on any sort of surface. However, the installation techniques will differ based on the surface.
Playground Safety Surfacing urges both contractors and homeowners to utilize synthetic grass in future landscaping projects since the advantages of synthetic grass over real turf are numerous.
Call Us Today 619-432-5836 928 Hornblend St STE 2, San Diego, CA 92109
Contact Turf & Sons today for a free consultation and estimate. Our team of experts specializes in artificial turf installation, playground surfacing, pet-friendly turf, and sports turf solutions. Let us help you create a beautiful, low-maintenance landscape tailored to your needs.
Notifications
☎️ Turf and Sons: Artificial Turf Installation in San Diego